Install Visual KPI Server Manager
This guide outlines the steps to install and use Visual KPI Server Manager. After installing our system, you will be ready to create your Interfaces and take full advantage of Visual KPI.
Installing Visual KPI Server Manager
Follow the steps below to set up the Visual KPI Server Manager:
- Access our Downloads page and download Visual KPI Server Manager.
- Run the downloaded executable installer.
- Go through the installation wizard as required and install our system.
- Open Visual KPI Server Manager.
If Visual KPI Server Manager fails to open, make sure your computer meets all prerequisites.
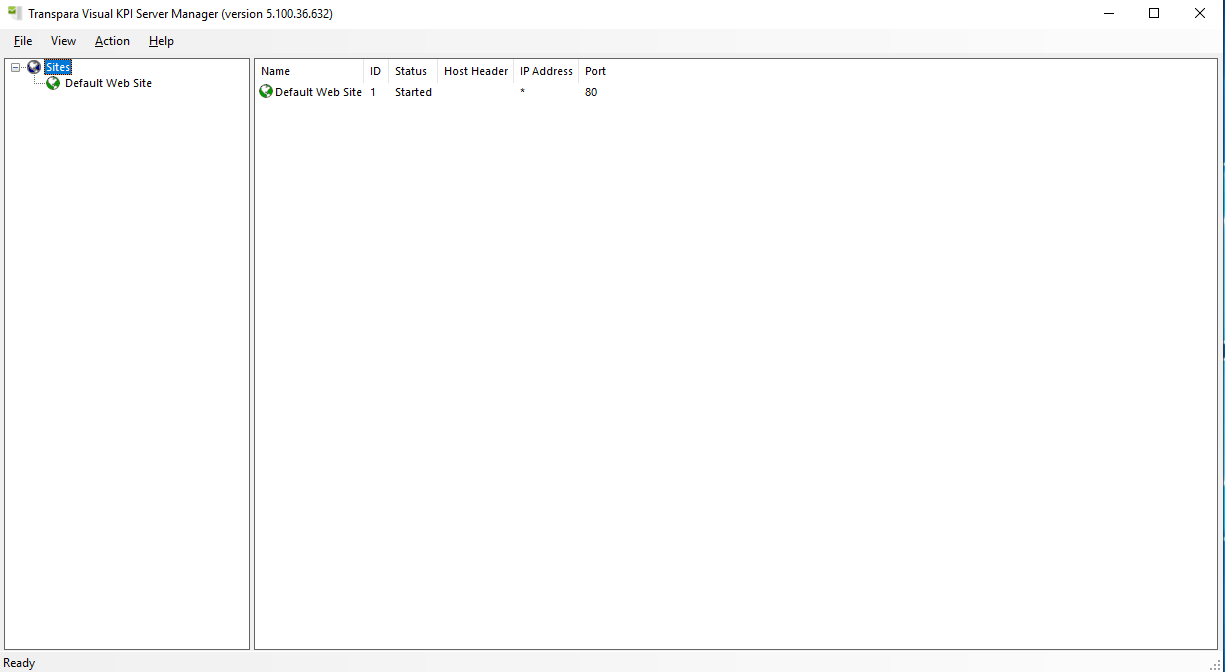
As Visual KPI Server Manager opens, it will look like the following picture:

Installing a Visual KPI Instance
The next step is installing a Visual KPI Instance. You can choose to install it on a new Site or an existing one from the list shown on the server manager. For both options, you will go through the same process:
- Right-click on Sites or on an existing site listed inside Sites.
- Select the Install New Visual KPI Instance option.
- Go through the required steps of the installation wizard.
- Accept the terms of the license agreement.
- Add your License Key.
A green checkmark will appear to the right of the number when you enter a valid license number.
- Set your Website Settings and Instance Settings.
- Choose the directory to install the new instance.
- Define your Database Server. It can be a remote or local server.
This is the Database Visual KPI uses for all its configuration information, not a data source.
- Add your credentials to connect to the database. If you have your SQL login mapped to windows, you can use Windows authentication, otherwise you need to add your SQL login and password.
- Add the administrator information. This is used to send alerts to the system administrator when the website requires attention.
- Choose whether to install prebuilt demos and sample data.
- Validate everything and install it.
Below, you will find a visual guide to these steps:
Run your application
Once you have installed the new instance, you can validate if everything is working as expected. To do this:
- Right-click the new created Instance.
- Select the Browse option.
Your browser should open with a Visual KPI Website similar to this:

If your instance of Visual KPI doesn't open or isn't working as expected, review the instructions on Preparing your system, Installing a Virtual Machine (if you used a Virtual Machine), and this guide to see if you missed something.
Video guide
Check the following video to see a guide on how to install Visual KPI Server Manager, as presented in this page.